


Excel for
Chartered Accountants

Read the Previous Chapter of this Guide Click Here >>
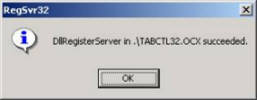
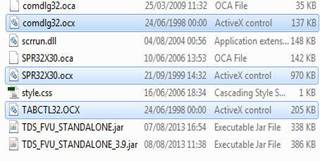
These ActiveX Controls files are: (a) SPR32X30.ocx , (b) TABCTL32.ocx and (c) Comdlg32.ocx
After running RPUSetup.bat file If those files are registered successfully, the notifications for all the three files successful registration similar to the following shall appear:
|
|
|
|


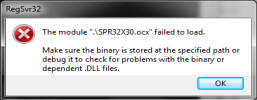
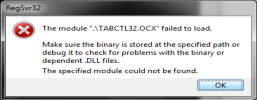
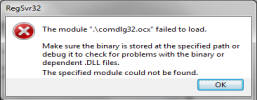
But if you get error messages like the following, it means these files could not be added to system registry and need to be added manually.
|
|
|
|
5. Adding ActiveX Controls to System Directory and Registering them:
(a) Open the folder where you have extracted RPU Files and identify the three ActiveX Control files with ocx extentions, namely: SPR32X30.ocx TABCTL32.ocx Comdlg32.ocx
|
|
(b) If you have x86 based operating system as per step 3 above, copy and paste all the three files Into:
If you have x64 based operating system as per step 3 above, copy and paste all the three file into: |
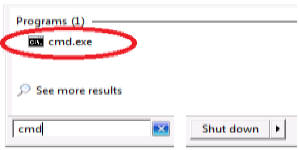
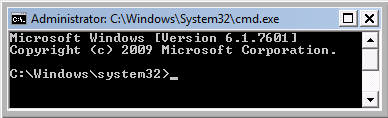
(c) Click Start Button and Type CMD search bar.Right click on cmd.exe and run as administrator .
|
|
See Video Tutorial |
|
|
|
||
|
|
|
Based on your operating System 32 bit or 64 bits steps should be as as under:
|
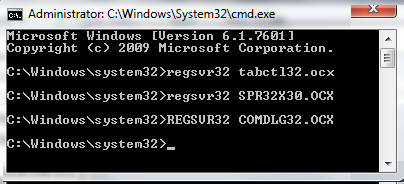
32 Bit Operating System In the cmd window Type "regsvr32 give space then write the file name with extension" For example: c:/windows/system32>regsvr32 SPR32X30.ocx Press Enter You will get the successful registration message. Repeat the step for rest of the two files also one by one and you wll get the message for successful registration of each file. Then Close the Command prompt Window
Now Close the Command Prompt (CMD) and you can run the RPU.exe file to launch RPU
|
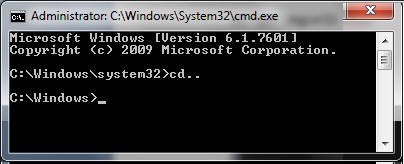
64 Bit Operating System In the command prompt window change directory from system32 to SysWOW64 ; Write cd.. and press
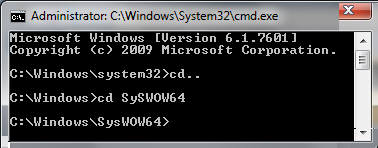
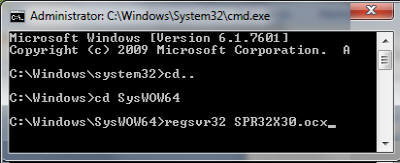
Write cd SysWOW64 then press Enter Type: regsvr32 SPACE then give write the file name with extension For example: c:/windows/SysWOW64>regsvr32 SPR32X30.ocx Press enter
On successful registration, you will get the confirmation.
c:/windows/SysWOW64>regsvr32 TABCTL32.ocx Press each time confirmation Notification shall be displayed
Now Close the Command Prompt (CMD) and you can |
Troubleshooting Guide for installation of NSDL TDS-TCS RPU (Return Preparation Utility) Part-II | CA Ashutosh Lohani |
